One of my favorite motivational speakers is Nelle Mohney, a Methodist minister's wife from Chattanooga, TN, who I have heard speak several times over the years, though sadly not recently. One of her points that I have remembered all these years is that television is the "plug-in drug!!" I totally agree! It is completely addictive and can waste more time than just about anything. Next came Facebook (even more addictive!) and most recently, Pinterest! I have spent more time "pinning" recipes, party ideas, gift ideas, crafts, things for kids, and on and on (which is probably why I haven't blogged in a month!). So this week, I have made an effort to actually cook some of the recipes I've "pinned." Today, I gave pumpkin scones a try. I made scones for the first time in high school more than 20 years ago and they would have easily passed for bricks! Over the years, I haven't had much better success with scones . . . until today!! As luck would have it, I had GREAT success with my scones today! They were easy to put together in my food processor and had 2 glazes! YUM! I even took pictures along the way, a la the Pioneer Woman. That's really a lot of work and my phone still has flour on it, but these are the lengths I'll go to for you, sweet blog readers!!
Dry ingredients plus butter in the food processor - so much easier than a pastry blender!

A half-cup of yummy pumpkin goodness!

Pumpkin, milk, and an egg - what a beautiful color!

Wet and dry ingredients coming together . . .

Look at those beautiful little specks of butter!

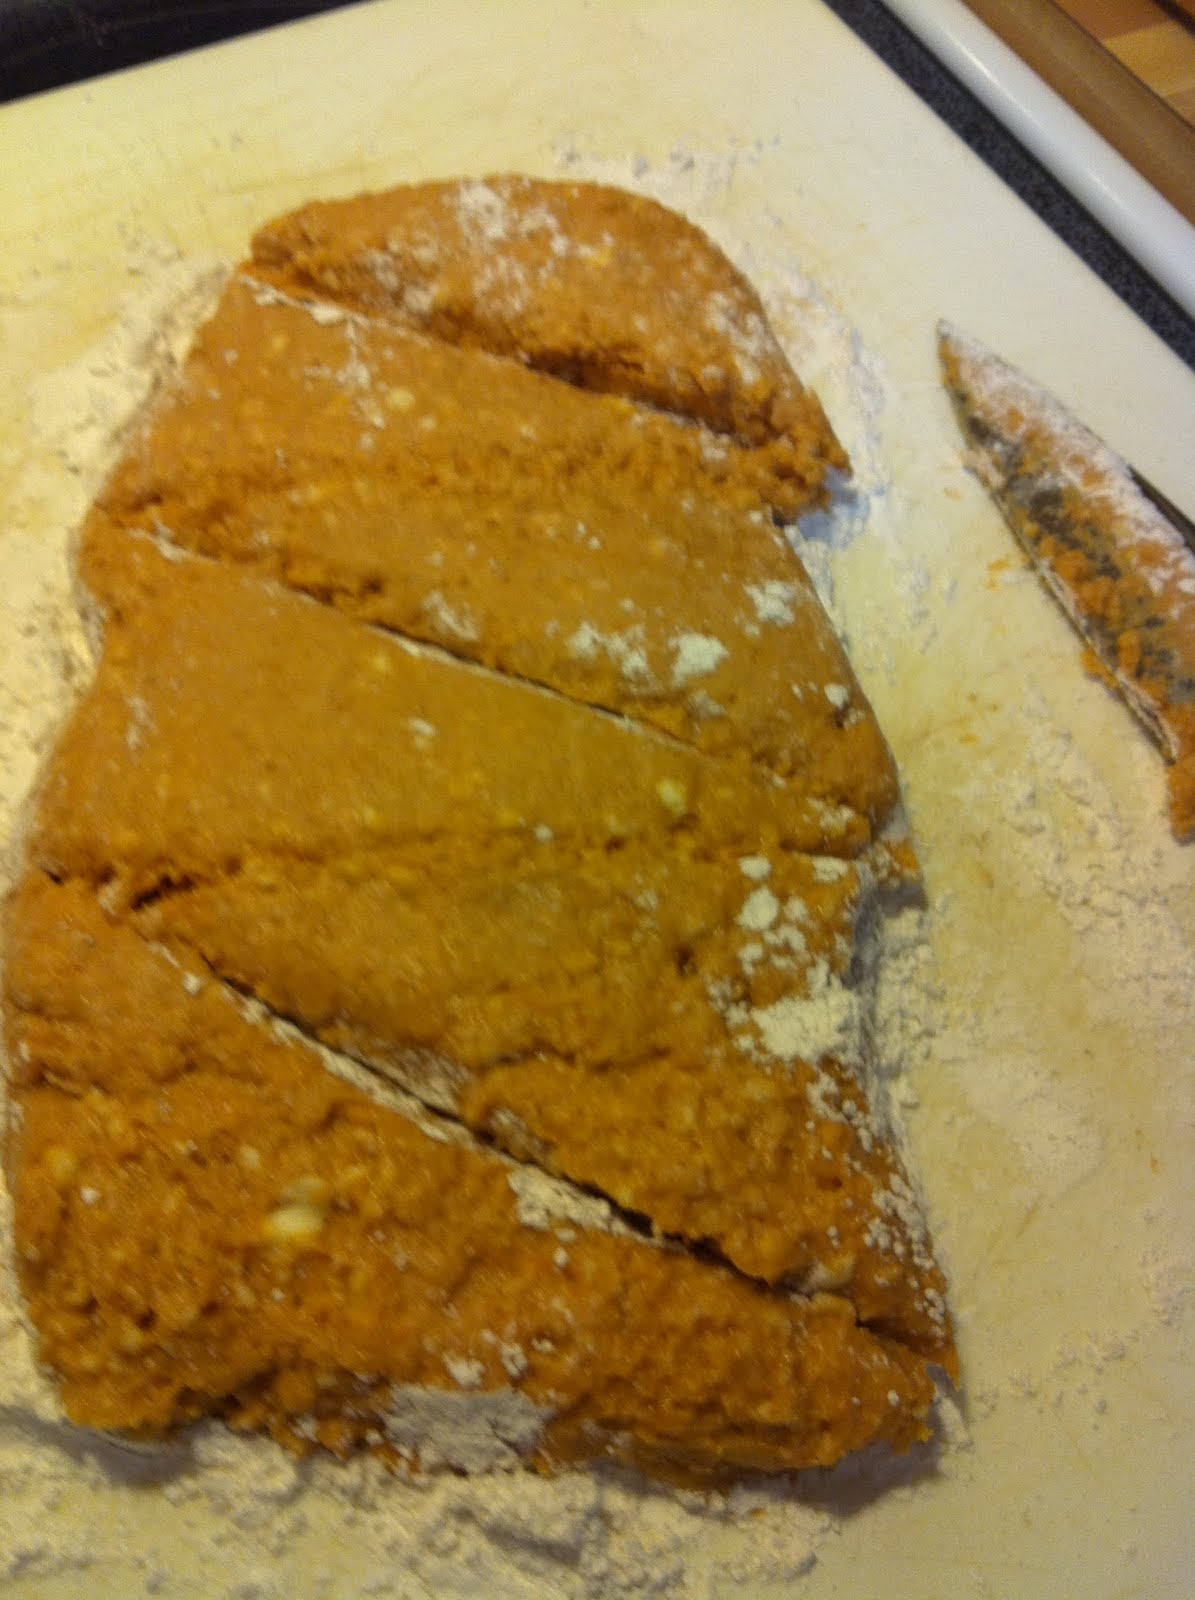
Patting the dough out into a rectangle on a flour-covered cutting board - I used a little too much flour! I had to wipe it off the finished scones with a paper towel!

Next I cut the dough into three equal parts and each part into two rectangles per the recipe. The scones turned out to be quite big, so I think I'll cut them smaller next time.

It took three tries with three different utensils for me to get the soft dough to the baking sheet. The bench scraper turned out to be the best choice.

The finished product!!

I baked the scones for 14 minutes (the recipe called for 14-16 minutes) so as not to overcook them and they are so tender and moist and delicious!! My very first success with scones! They also have a sugar glaze AND a spice glaze drizzled on them - how could you go wrong with that amount of yumminess!!

 Like many of you, I have a terrible time creating masculine birthday cards. I typically buy Chris and my dad a card for their birthdays simply because I was the sentiment to be especially meaningful since these are the two most important men in my life! So, when I was called on to make birthday cards for the staff at my church, I not only had to make one masculine card, I had to make 11!! WOW! Of course, I didn't make 11 unique cards, but coming up with 1-2 designs was proving harder that I thought. So, after scouring the internet and SCS, I went back to my old faithful, Me, My Stamps and I and found this perfect card design!!! I dug through my stamps and found a funny one with several, simple images, and went to work. I LOVE how these cards turned out!! I am definitely going to use this layout in the future because it is easy, fun, and let me use all that beautiful coordinating paper that I have from SU! Thanks for stopping by today - I hope you have a great week!!